Step-by-Step Guide to Replacing Your Car Replacement Engine Air Filter
2024-07-10
Introduction
Replacing your car's engine air filter is a simple yet crucial maintenance task that ensures optimal engine performance and longevity. Regularly changing the air filter helps maintain efficient combustion, improves fuel economy, and protects engine components from contaminants. In this blog, we will provide a step-by-step guide to replacing your car replacement engine air filter.
Tools and Materials Needed
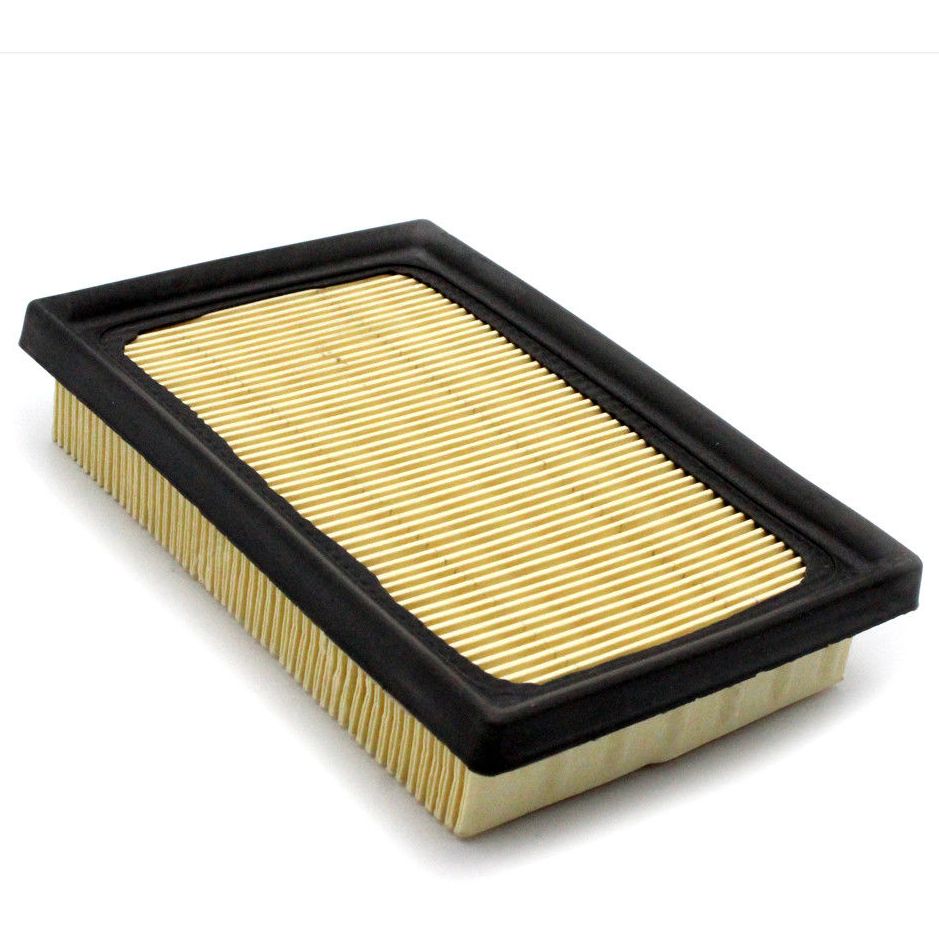
- New Engine Air Filter: Ensure you have the correct replacement air filter for your vehicle’s make and model.
- Screwdrivers: Depending on your vehicle, you may need a flathead or Phillips screwdriver to remove the air filter housing.
- Owner’s Manual: Refer to your vehicle’s owner manual for specific instructions and details on the air filter replacement process.
Step-by-Step Replacement Guide
1. Locate the Air Filter Housing
- Under the Hood: Open the hood of your car and locate the air filter housing. It is usually a black plastic box near the engine, connected to the air intake hose.
- Refer to Manual: If you have trouble finding the air filter housing, consult your vehicle’s owner manual for guidance.
2. Remove the Air Filter Housing Cover
- Unclip or Unscrew: Depending on your vehicle, the air filter housing cover may be secured with clips, screws, or bolts. Use the appropriate tool to remove them.
- Lift the Cover: Carefully lift the cover to expose the air filter. Set the cover and fasteners aside in a safe place.
3. Remove the Old Air Filter
- Take Out the Filter: Gently lift the old air filter out of the housing. Pay attention to how it is positioned to ensure you install the new filter correctly.
- Inspect the Housing: Check the inside of the air filter housing for dirt or debris. Wipe it clean with a cloth if necessary.